Creating Custom Stickers/Avatars from Your Webcam - Part 1
I’ve just made my new project, Poker Face, available as open-source. This project is crafted with Elixir and Phoenix LiveView. Its core features allow you to:
- Transform your webcam feed into stickers or avatars.
- Pose questions about the camera images to GPT.
Check out the introduction video here: 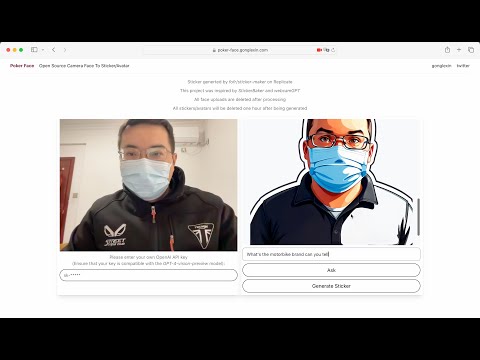 In this blog series, I’ll guide you through every detail of the implementation.
Welcome to Part 1.
In this blog series, I’ll guide you through every detail of the implementation.
Welcome to Part 1.
In this very fist part, we’ll tackle a couple of key steps:
- Opening the camera and capturing the video frame.
- Sending the frame to a LiveView process and interfacing it with Gemini or OpenAI.
Initial Project
Let’s kick things off with setting up the project. Navigate to your desired directory and create a new phoenix project:
mix phx.new poker_face
From the outset, my goal was to build this entire project in LiveView.
I proceeded by adding face_live.ex and face_live.html.heex,
then configuring the router to point to this LiveView component.
defmodule PokerFaceWeb.FaceLive do
  use PokerFaceWeb, :live_view

  @impl true
  def mount(_prams, _session, socket) do
    {:ok, assign(socket, :photo_info, nil)}
  end
end
<div>
  <.header>
    Pokcer Face
    <:subtitle></:subtitle>
  </.header>
  <div class="grid grid-cols-2 gap-x-2">
    <div id="user_photo" class="rounded shadow-lg p-2 flex flex-col gap-y-2" phx-hook="Camera">
      <button
        id="startCamera"
        class="p-4 w-full h-full disabled:cursor-not-allowed"
      >
        <p class="select-none flex items-center gap-2">
          <.icon name="hero-camera" />Take a photo with your webcam
        </p>
      </button>
      <div class="flex flex-col gap-y-2">
        <video id="video" class="hidden" playsinline autoplay></video>
        <img id="photo" />

        <div id="buttonGroup" class="hidden flex flex-col gap-y-2 justify-center">
          <button
            id="takePhoto"
            class="rounded-full py-2 border border-black hover:bg-black hover:text-white"
          >
            Take Photo
          </button>
          <button
            id="stopCamera"
            class="rounded-full py-2 border border-black hover:bg-black hover:text-white"
          >
            Cancel
          </button>
        </div>
        <canvas id="canvas" class="hidden"></canvas>
      </div>
    </div>
    <div id="poker_photo" class="rounded shadow-lg p-2">
      <p class="text-center text-lg"><%= @photo_info %></p>
    </div>
  </div>
</div>
defmodule PokerFaceWeb.Router do
  use PokerFaceWeb, :router

  ...

  scope "/", PokerFaceWeb do
    pipe_through :browser

    live "/", FaceLive
  end

  ...
Once you run mix phx.server, your page should like this: 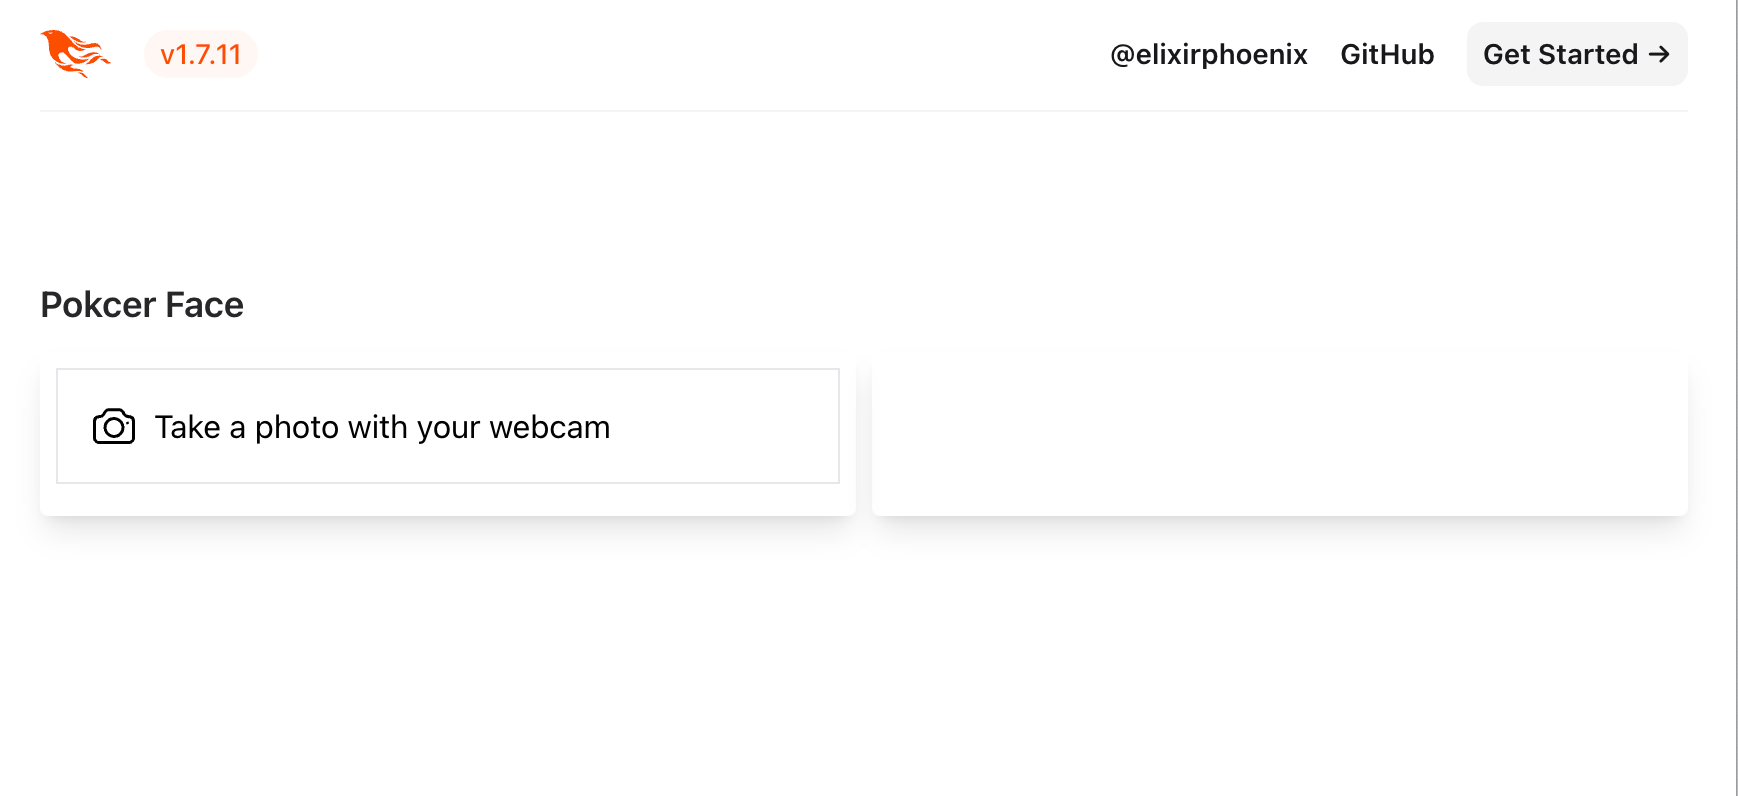
The variable @photo_info is designated to display the responses
from GPT/Gemini once we’ve sent an video frame to be analyzed.
Webcam
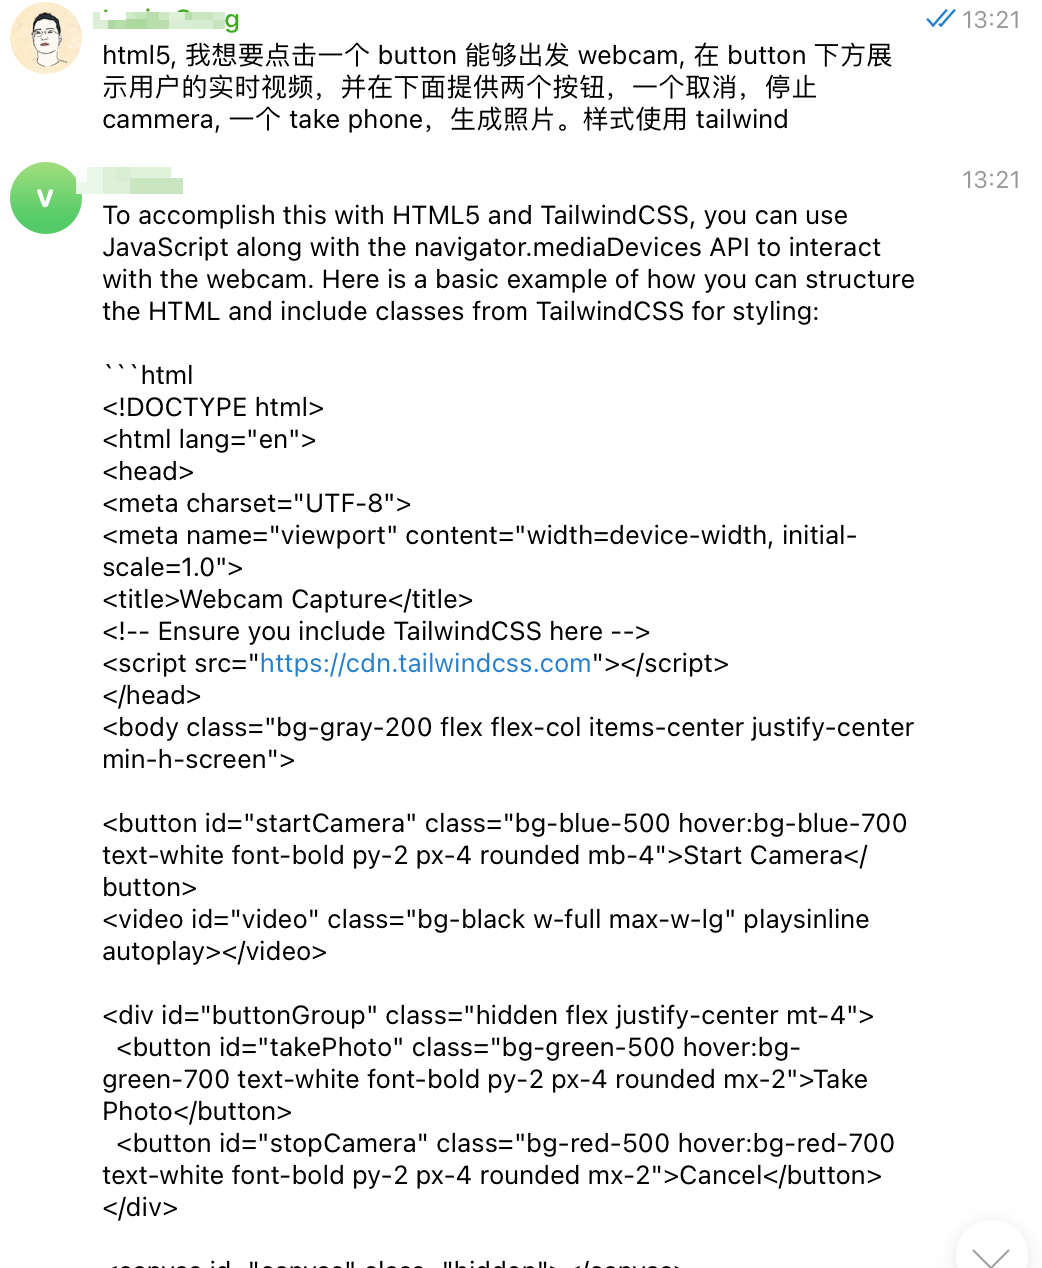
Now, let’s delve into the webcam functionality.
To be honest, webcams were somewhat foreign to me.
So, I turned to GPT for assistance on how to implement it,
and it provided a solid, functional code example.
All I had to do was integrate the JavaScript into a Phoenix Hook.
Add this code to app.js with any necessary modifications:
let Hooks = {}

Hooks.Camera = {
  mounted() {
    const startCamera = document.getElementById('startCamera');
    const video = document.getElementById('video');
    const takePhoto = document.getElementById('takePhoto');
    const stopCamera = document.getElementById('stopCamera');
    const canvas = document.getElementById('canvas');
    const buttonGroup = document.getElementById('buttonGroup');
    const photo = document.getElementById("photo");
    let stream = null;

    // Start the camera when button is clicked
    startCamera.addEventListener('click', async () => {
      stream = await navigator.mediaDevices.getUserMedia({ video: true });
      video.srcObject = stream;
      video.classList.remove('hidden');
      buttonGroup.classList.remove('hidden');
      startCamera.classList.add('hidden');
      photo.src = "";
    });

    // Take a photo
    takePhoto.addEventListener('click', () => {
      canvas.width = video.videoWidth;
      canvas.height = video.videoHeight;
      canvas.getContext('2d').drawImage(video, 0, 0);
      const imageDataURL = canvas.toDataURL('image/png');
      photo.src = imageDataURL;

      // push to the back-end and interact with Gemini/GPT
      this.pushEvent("new_photo", { photo: imageDataURL })

      // buttonGroup.classList.add('hidden');
      // startCamera.classList.remove('hidden');
      // video.classList.add('hidden');
      // video.srcObject = null;
    });

    // Stop the camera
    stopCamera.addEventListener('click', () => {
      if (stream) {
        stream.getTracks().forEach(track => track.stop());
      }
      buttonGroup.classList.add('hidden');
      startCamera.classList.remove('hidden');
      video.classList.add('hidden');
      video.srcObject = null;
      photo.src = "";
    });
  }
}
By clicking the camera button, the camera will activate: 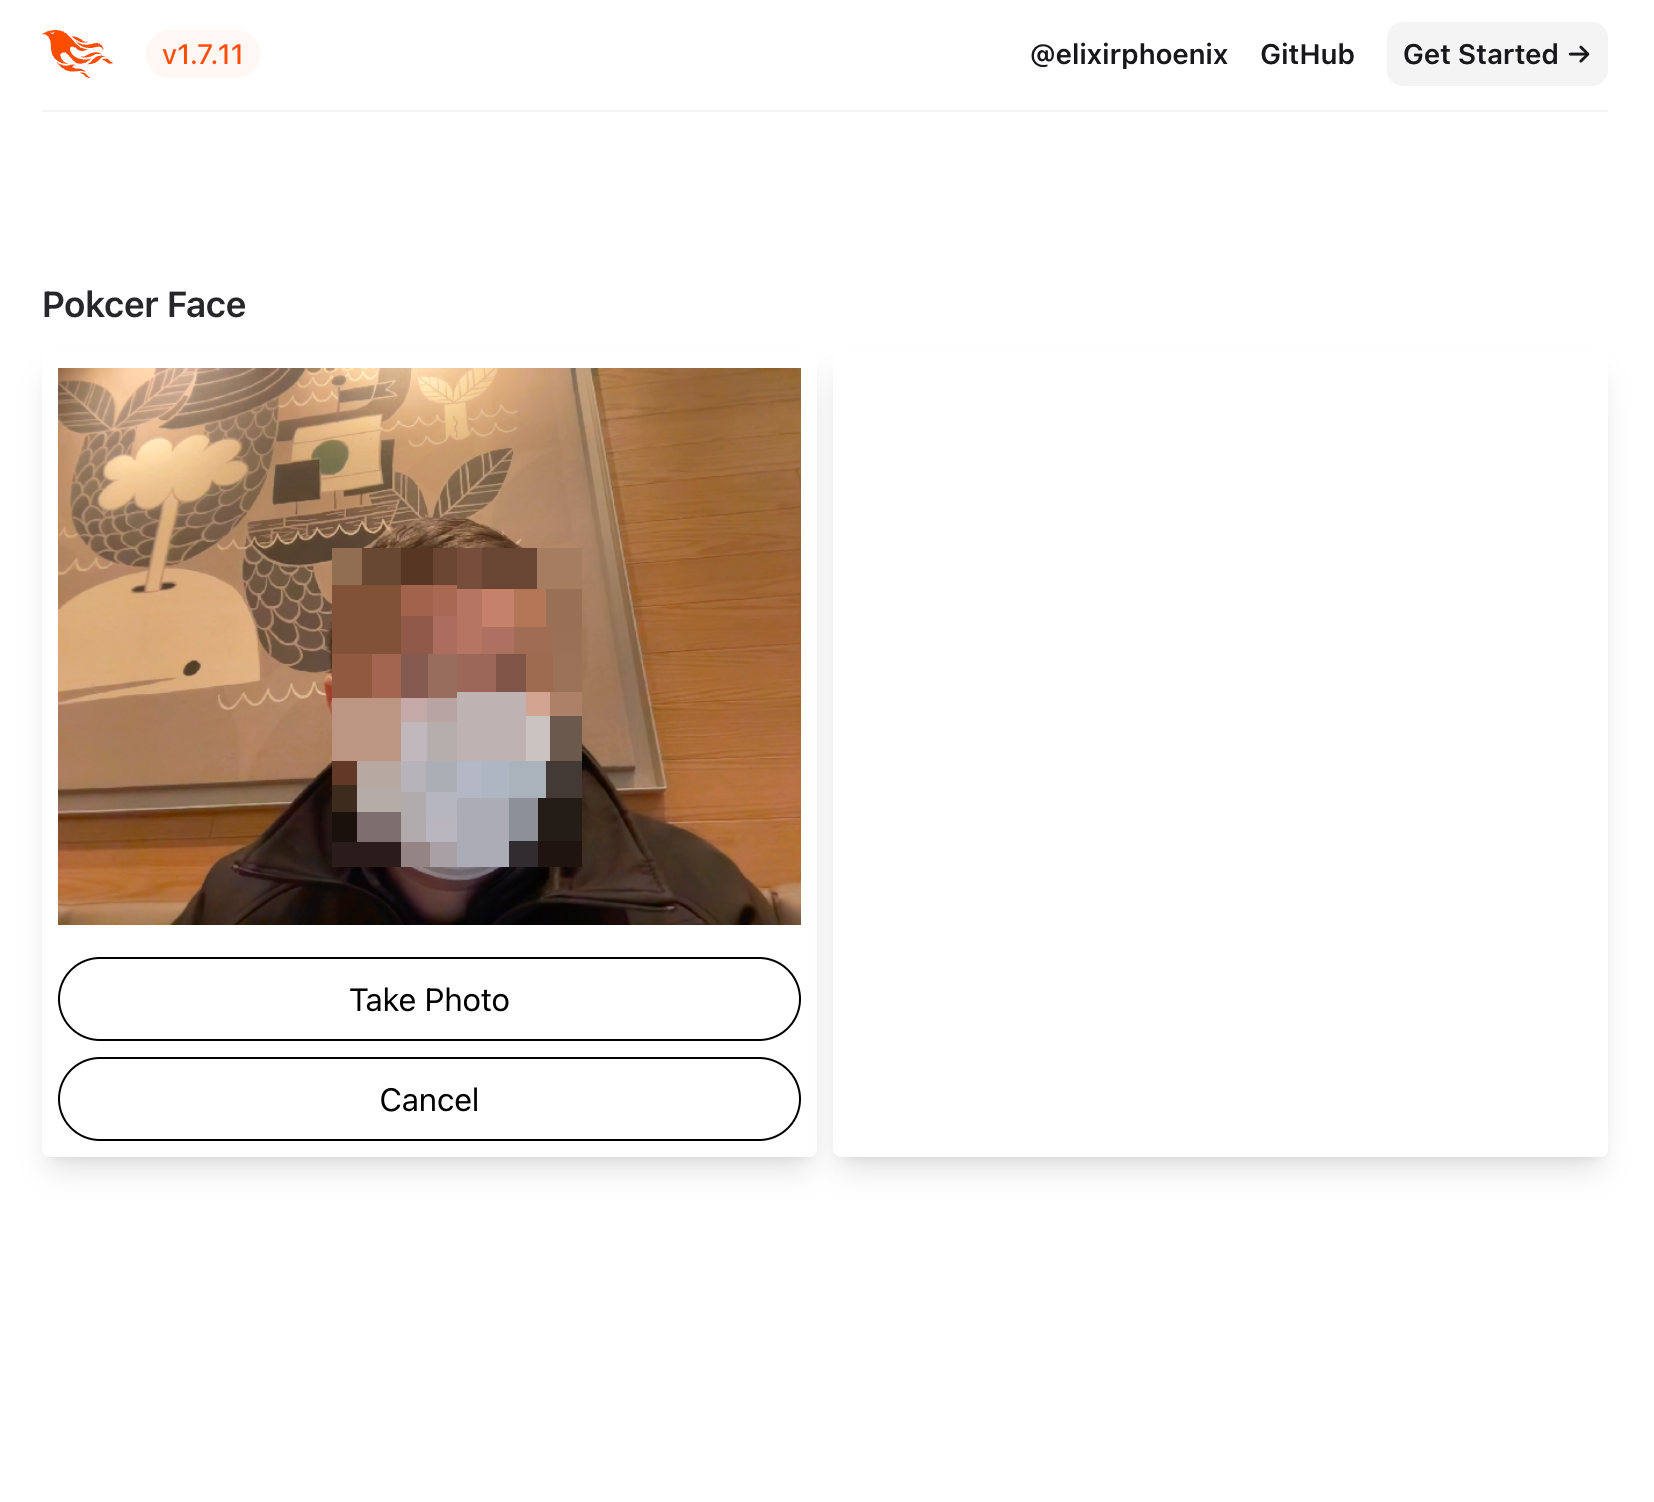 Cool, it works. GPT is great!
Click the ‘Take Photo’ button though, and you’ll bump into an error.
Currently, when this button is clicked,
an event named new_photo is dispatched to the backend,
for which the handling is not yet implemented.
Let’s proceed with that.
LiveView process
Edit face_live.ex and add these functions:
...

  @impl true
  def handle_event("new_photo", %{"photo" => photo}, socket) do
    send(self(), {:anaylse, photo})
    {:noreply, socket}
  end

  @impl true
  def handle_info({:anaylse, photo}, socket) do
    {:ok, text} = Gemini.analyze_image(photo)

    socket =
      socket
      |> assign(:photo_info, text)

    {:noreply, socket}
  end

...
Instead of OpenAI gpt, We implement Gemini API first, Let’s add a gemini.ex:
defmodule PokerFace.Gemini do
  @vision_uri "https://generativelanguage.googleapis.com/v1beta/models/gemini-pro-vision:generateContent"

  def analyze_image("data:image/png;base64," <> image_data) do
    prompt = """
      What's is he/she/it doing?
    """

    body = %{
      contents: [
        %{
          parts: [
            %{text: prompt},
            %{inlineData: %{mimeType: "image/png", data: image_data}}
          ]
        }
      ]
    }

    resp =
      Req.post!(@vision_uri <> "?key=#{System.get_env("GOOGLE_AI_API_KEY")}",
        json: body,
        receive_timeout: 60_000,
        connect_options: [protocols: [:http1]]
      )

    text =
      resp.body["candidates"]
      |> List.first()
      |> Map.get("content")
      |> Map.get("parts")
      |> List.first()
      |> Map.get("text")

    {:ok, text}
  end
end
In order to utilize Gemini, you must obtain your personal API key from Google AI.
Once acquired and configured as an environment variable,
you’ll possess a functional AI-powered image analyzer.

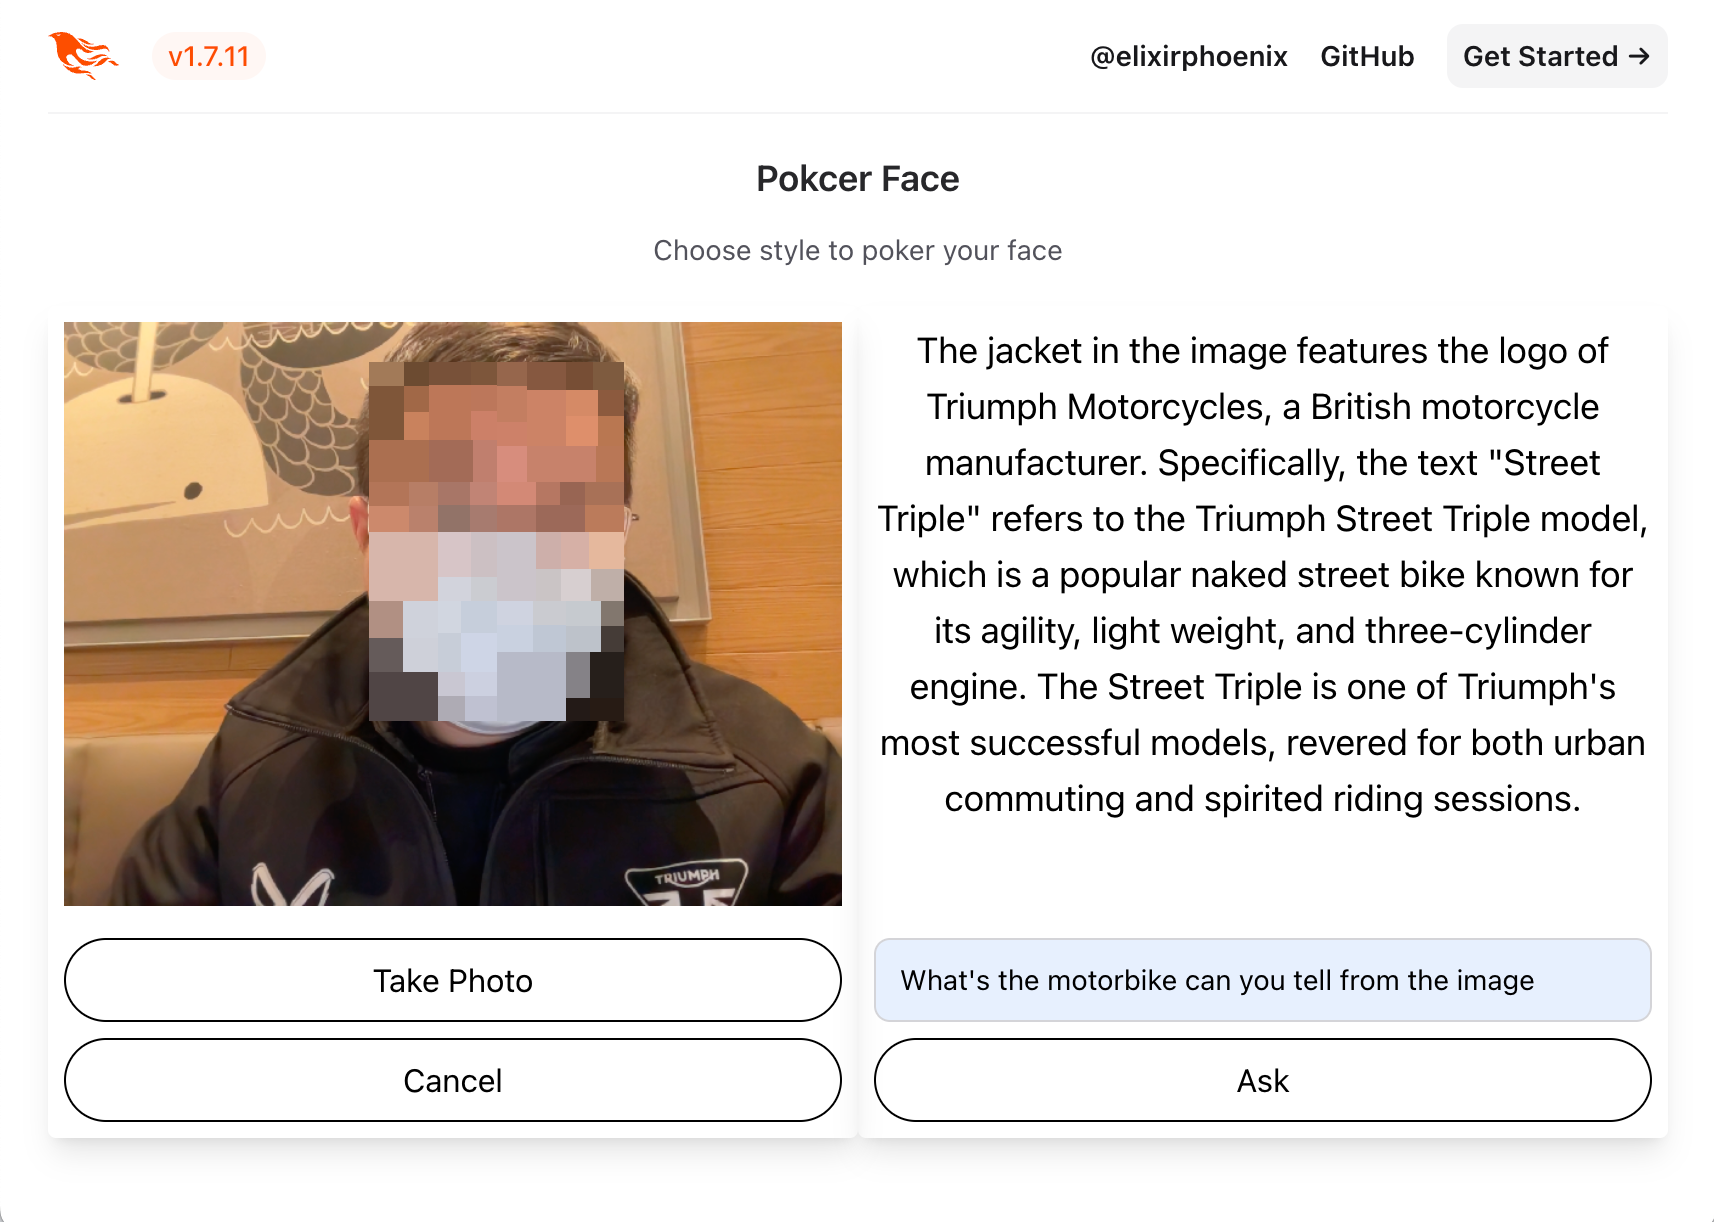
Although Gemini responds correctly, the photo captured becomes non-persistent on the current page. So, we need to make some fix and an OpenAI version could also be integrated. I’ll not show the code here. But you can check all the code changes We should make today.
At the end of these modifications,
we are equipped with a fully operational camera AI image analyzer!